Types of Cabinet Door Handles and Their Installation: How To Put On Cabinet Door Handles

Selecting and installing cabinet hardware significantly impacts a kitchen or bathroom’s aesthetic appeal and functionality. The choice of handle type, material, and installation method directly influence the overall look and ease of use. This section details various cabinet handle types, their installation procedures, and considerations for different cabinet materials.
Cabinet Handle Types and Their Characteristics
Cabinet handles are broadly categorized into knobs, pulls, and bar handles, each possessing unique attributes. The selection depends on personal preference, cabinet style, and desired functionality.
| Type | Material | Installation Difficulty | Aesthetics |
|---|---|---|---|
| Knob | Metal (brass, zinc alloy, stainless steel), ceramic, glass, wood | Easy | Classic, versatile; suitable for traditional and modern styles. Can appear less substantial on larger doors. |
| Pull | Metal (brass, zinc alloy, stainless steel), ceramic, wood | Easy to Moderate | Wide range of styles; offers a comfortable grip, especially for larger doors. |
| Bar Handle | Metal (brass, zinc alloy, stainless steel) | Moderate | Modern, minimalist; ideal for contemporary designs. Can be less comfortable for smaller hands. |
Tools Required for Cabinet Handle Installation
The specific tools needed vary slightly depending on the handle type and cabinet material. However, a basic toolkit generally includes a screwdriver (Phillips and flathead), a drill with appropriate drill bits (for pre-drilling pilot holes), a measuring tape, a pencil, and possibly a level for precise placement. For some handles, a countersink bit may be needed to recess the screws for a flush finish.
Installation Procedures for Different Handle Types
The installation process generally involves marking the handle’s position, pre-drilling pilot holes (if necessary), attaching the handle base, and securing it with screws. For knobs, a single hole is required, while pulls and bar handles typically need two.
Installing Handles on Wood Cabinets
Wood cabinets generally require pre-drilling pilot holes to prevent splitting. The pilot hole’s diameter should be slightly smaller than the screw’s diameter. This minimizes the risk of damage to the cabinet door. The screws should be driven in firmly but carefully to avoid over-tightening and damaging the wood.
Installing Handles on Metal Cabinets
Metal cabinets are less prone to splitting, but pre-drilling pilot holes is still recommended to ensure accurate screw placement and prevent damage to the cabinet’s finish. The type of screw used should be appropriate for the metal type to ensure a secure and lasting installation. Care should be taken to avoid stripping the screw holes in the metal.
Step-by-Step Installation Guide for Common Handle Types

This section provides detailed instructions for installing three common types of cabinet door handles: knob, pull, and bar handles. Following these steps carefully will ensure a secure and aesthetically pleasing installation. Accurate measurements and careful handling of the hardware are crucial to prevent damage to the cabinet doors.
Standard Knob Handle Installation
Installing a standard knob handle involves several key steps. Proper preparation and precise measurements are essential for a successful installation. The following steps illustrate the process.
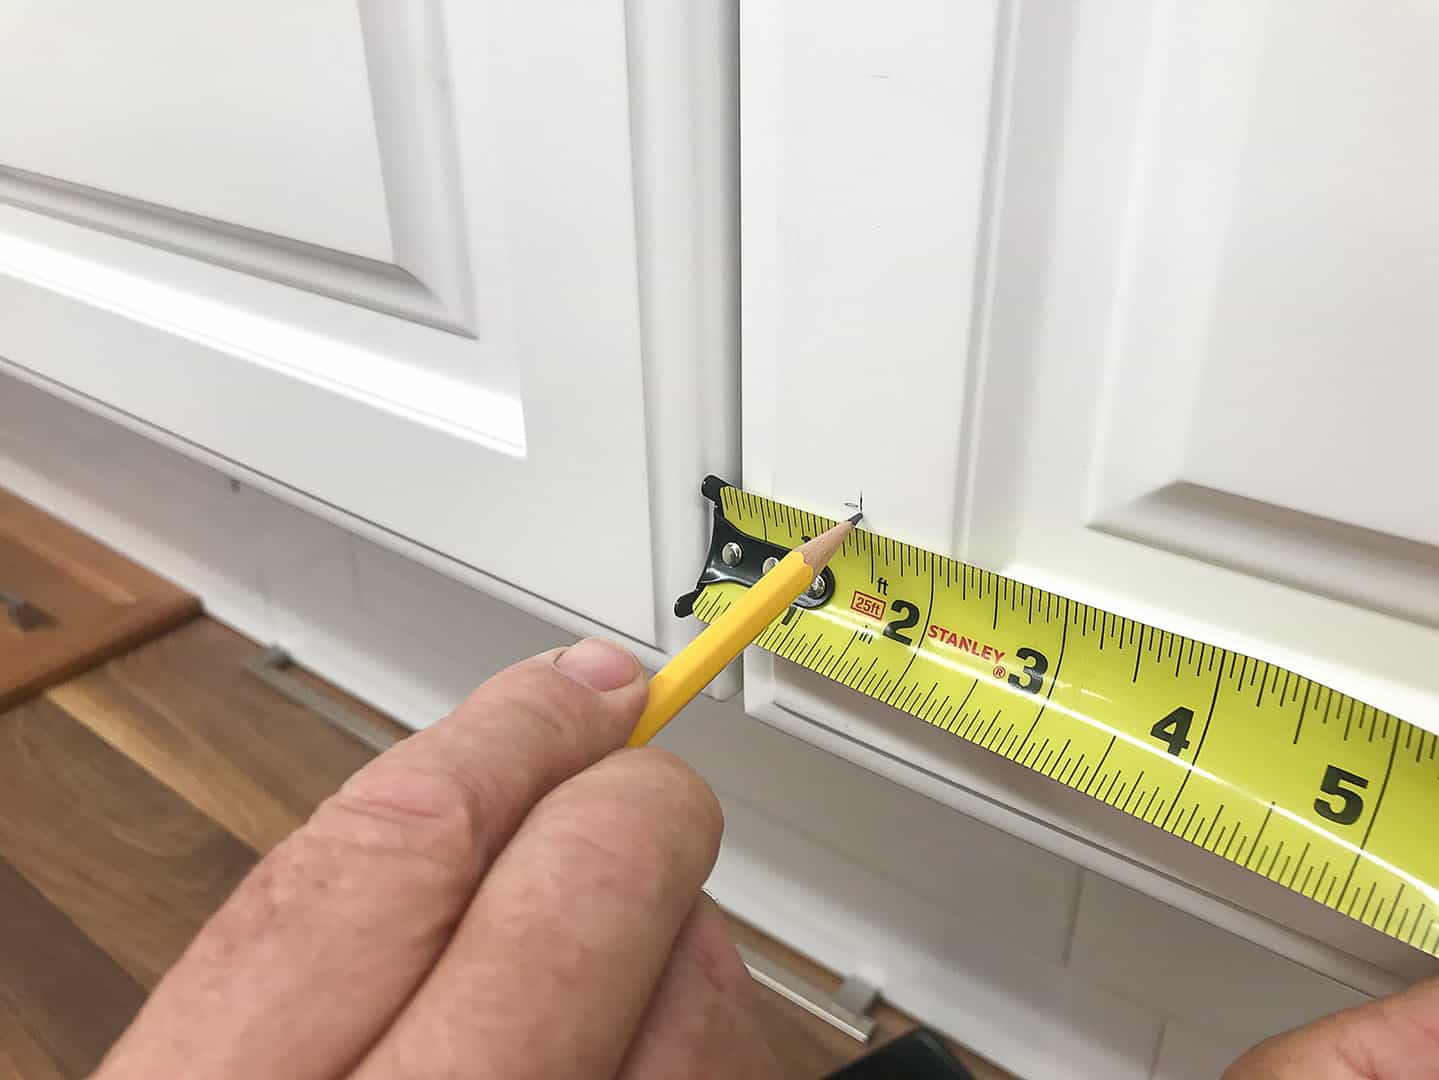
- Step 1: Preparing the Door. Begin by measuring the distance between the knob’s mounting holes. This measurement is crucial for accurately marking the locations of the holes on the cabinet door. Using a pencil, carefully mark these locations. An image would show a cabinet door with two small pencil marks indicating the hole locations, precisely spaced according to the knob’s specifications. Ensure the door is clean and free of debris before proceeding.
- Step 2: Drilling Pilot Holes. Using a drill bit slightly smaller than the diameter of the knob’s screws, drill pilot holes at the marked locations. This prevents the wood from splitting and ensures the screws enter smoothly. An image would depict a hand holding a drill with a bit engaged in the door, creating a pilot hole. The image would also show the drill press set at a low speed.
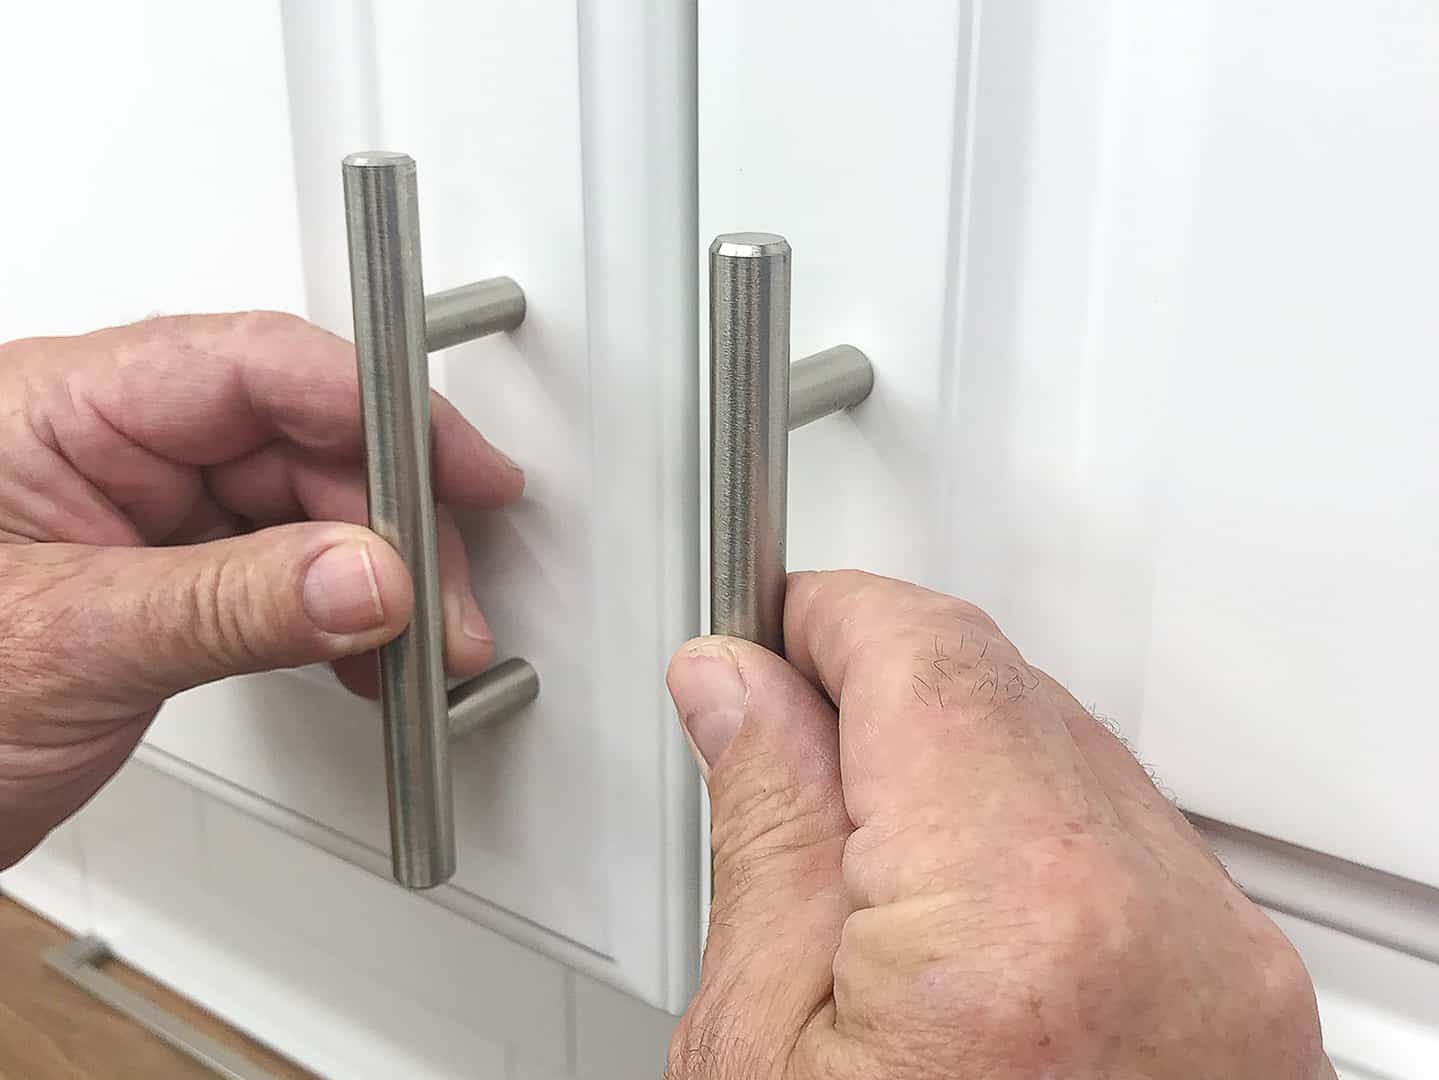
- Step 3: Installing the Knobs. Insert the knobs through the holes from the front of the door, aligning the knob’s mounting plate with the door. Carefully insert the screws, tightening them securely but avoiding over-tightening, which could damage the wood or the handle. An image would showcase the two knobs being attached to the door, the screws slightly visible. The image should clearly demonstrate the correct alignment of the knobs and mounting plate.
- Step 4: Final Inspection. Once the screws are tightened, check the knob’s functionality. Ensure it rotates smoothly and that it is firmly attached to the door. An image would show a completed installation, with both knobs securely in place and operating smoothly.
Pull Handle Installation
Installing a pull handle is a straightforward process, requiring accurate measurements and careful handling of the hardware. The following steps provide a clear guide.
- Step 1: Marking the Mounting Locations. Measure the distance between the pull handle’s mounting holes and mark these points on the cabinet door using a pencil. An image would display a pull handle with measurements marked on it and the equivalent marks on the cabinet door. This image emphasizes the importance of accurate measurement.
- Step 2: Drilling Pilot Holes. Drill pilot holes at the marked locations using a drill bit slightly smaller than the screws provided. An image would show the drill bit and the pilot holes being created on the door. The image would highlight the importance of using a bit of the correct size to prevent splitting.
- Step 3: Attaching the Pull Handle. Align the pull handle with the pilot holes and attach it using the provided screws. An image would show the pull handle being attached, with the screws partially inserted. The image should clearly demonstrate the correct alignment of the handle.
- Step 4: Tightening and Inspection. Tighten the screws securely, but avoid over-tightening. Check the handle’s stability and ensure it is firmly attached. An image would display the completed installation, with the pull handle firmly attached to the door.
Bar Handle Installation, How to put on cabinet door handles
Bar handles require precise alignment due to their length. This process is similar to other handle types, but attention to detail is critical.
- Step 1: Precise Measurement and Marking. Accurately measure the distance between the mounting holes on the bar handle. Mark these points on the cabinet door with precision, ensuring perfect symmetry. An image would show a bar handle laid against the door with carefully marked points for hole drilling. This image emphasizes the importance of precise measurement for this type of handle.
- Step 2: Drilling Pilot Holes. Drill pilot holes at the marked locations, using a drill bit appropriate for the screw size. This step is identical to other handle types, but accuracy is paramount. An image would display the drilling process for the bar handle, showing the drill bit and the pilot holes being created. The image should emphasize the straightness of the drilling.
- Step 3: Securing the Bar Handle. Carefully align the bar handle with the pilot holes and attach it using the provided screws. Ensure the handle is level and centered before tightening the screws. An image would depict the installation process, highlighting the importance of aligning the bar handle correctly before tightening. The image would show a level tool being used to ensure proper alignment.
- Step 4: Verification and Adjustment. After tightening the screws, check the handle’s stability and alignment. Make any necessary adjustments before finalizing the installation. An image would show the finished installation, with the bar handle perfectly aligned and securely attached.
Tips for Ensuring Proper Alignment and Preventing Damage
Maintaining proper alignment and preventing damage is crucial during cabinet handle installation. Using the right tools and techniques minimizes the risk of mistakes.
- Accurate Measurements: Always double-check your measurements before drilling any holes. Inaccurate measurements can lead to misaligned handles or damaged doors.
- Pilot Holes: Always drill pilot holes to prevent the wood from splitting. Using a drill bit slightly smaller than the screw diameter is recommended.
- Leveling: Use a level to ensure the handle is perfectly aligned before tightening the screws. This is particularly important for bar handles.
- Tightening: Tighten the screws securely, but avoid over-tightening. Over-tightening can strip the screws or damage the wood.
- Appropriate Tools: Using the correct drill bits and screwdrivers prevents damage to the hardware and the cabinet doors.
